Continuous Flight Auger (CFA) piles are widely used in construction for creating deep foundations. They combine the advantages of driven piles and bored piles, making them suitable for various soil conditions and project requirements. This article provides a step-by-step guide to the construction process of Continuous Flight Auger (CFA) piles, detailing each phase to ensure a successful and efficient installation.
1. Site Investigation and Preparation
Soil Investigation:
Conduct a thorough geotechnical survey to understand soil conditions, groundwater levels, and any potential obstacles.
Site Clearance:
Clear the site of any debris, vegetation, or obstacles that may hinder the piling process.
Setting Out:
Mark the positions for each pile according to the engineering design and project specifications.
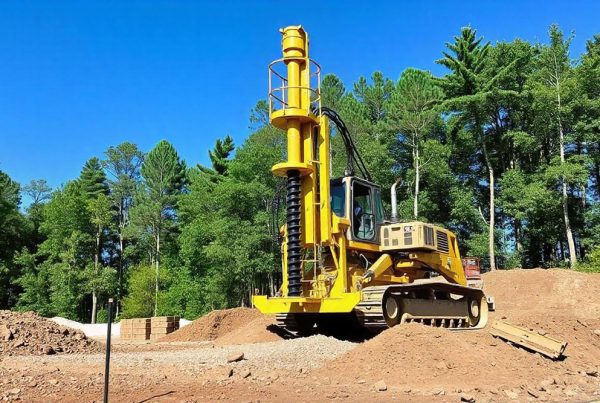
2. Mobilization of Equipment
Bringing in Machinery:
Transport the necessary equipment to the site, including the CFA rig, concrete pump, and reinforcement cages.
Setup:
Assemble the equipment and ensure all machinery is in proper working condition. Perform safety checks to prevent any accidents.
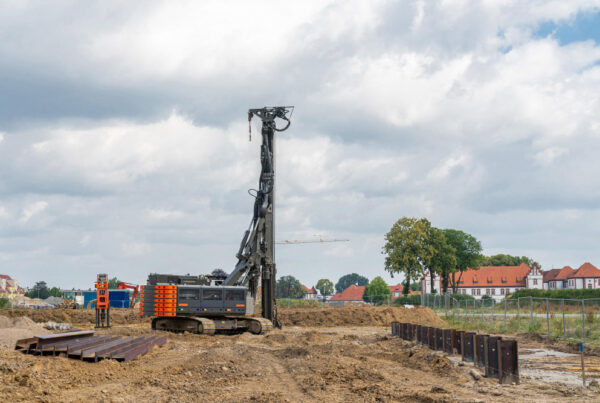
3. Drilling
Positioning the Rig:
Align the Continuous Flight Auger (CFA) rig with the marked pile position.
Drilling:
Start the drilling process by rotating the continuous flight auger into the ground. The auger drills and brings soil to the surface simultaneously, creating a borehole.
Monitoring:
Continuously monitor the drilling depth and soil removal to ensure accuracy and consistency with the design specifications.
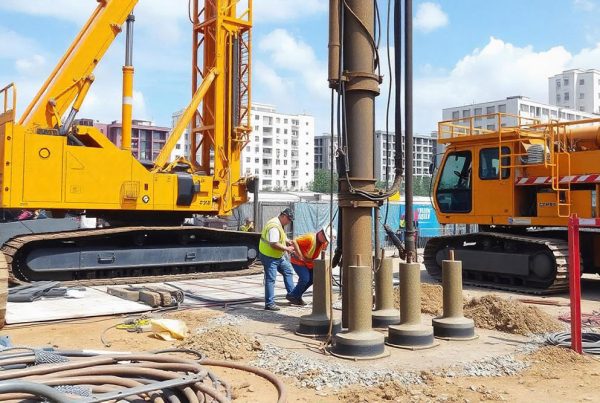
4. Concrete Pumping
Concrete Preparation:
Prepare the concrete mix according to the project’s specifications, ensuring it is suitable for pumping.
Pumping Concrete:
Once the desired depth is reached, pump concrete through the hollow stem of the auger while slowly retracting it. This process fills the borehole with concrete, forming the pile.
Maintaining Pressure:
Maintain adequate pressure to ensure the concrete fills the borehole evenly and prevents soil from collapsing into the hole.
5. Inserting Reinforcement
Reinforcement Cages:
Prepare the reinforcement cages according to the design specifications.
Insertion:
Insert the reinforcement cage into the wet concrete immediately after the auger is withdrawn. Ensure the cage is placed at the correct depth and alignment.
Vibration:
Use a vibrator if necessary to help the reinforcement cage settle into the concrete without displacing it.
6. Curing and Quality Control
Curing:
Allow the concrete to cure and gain strength. The curing period can vary depending on the concrete mix and environmental conditions.
Quality Control:
Conduct post-construction testing, such as integrity tests and load tests, to ensure the pile meets the required standards and specifications.
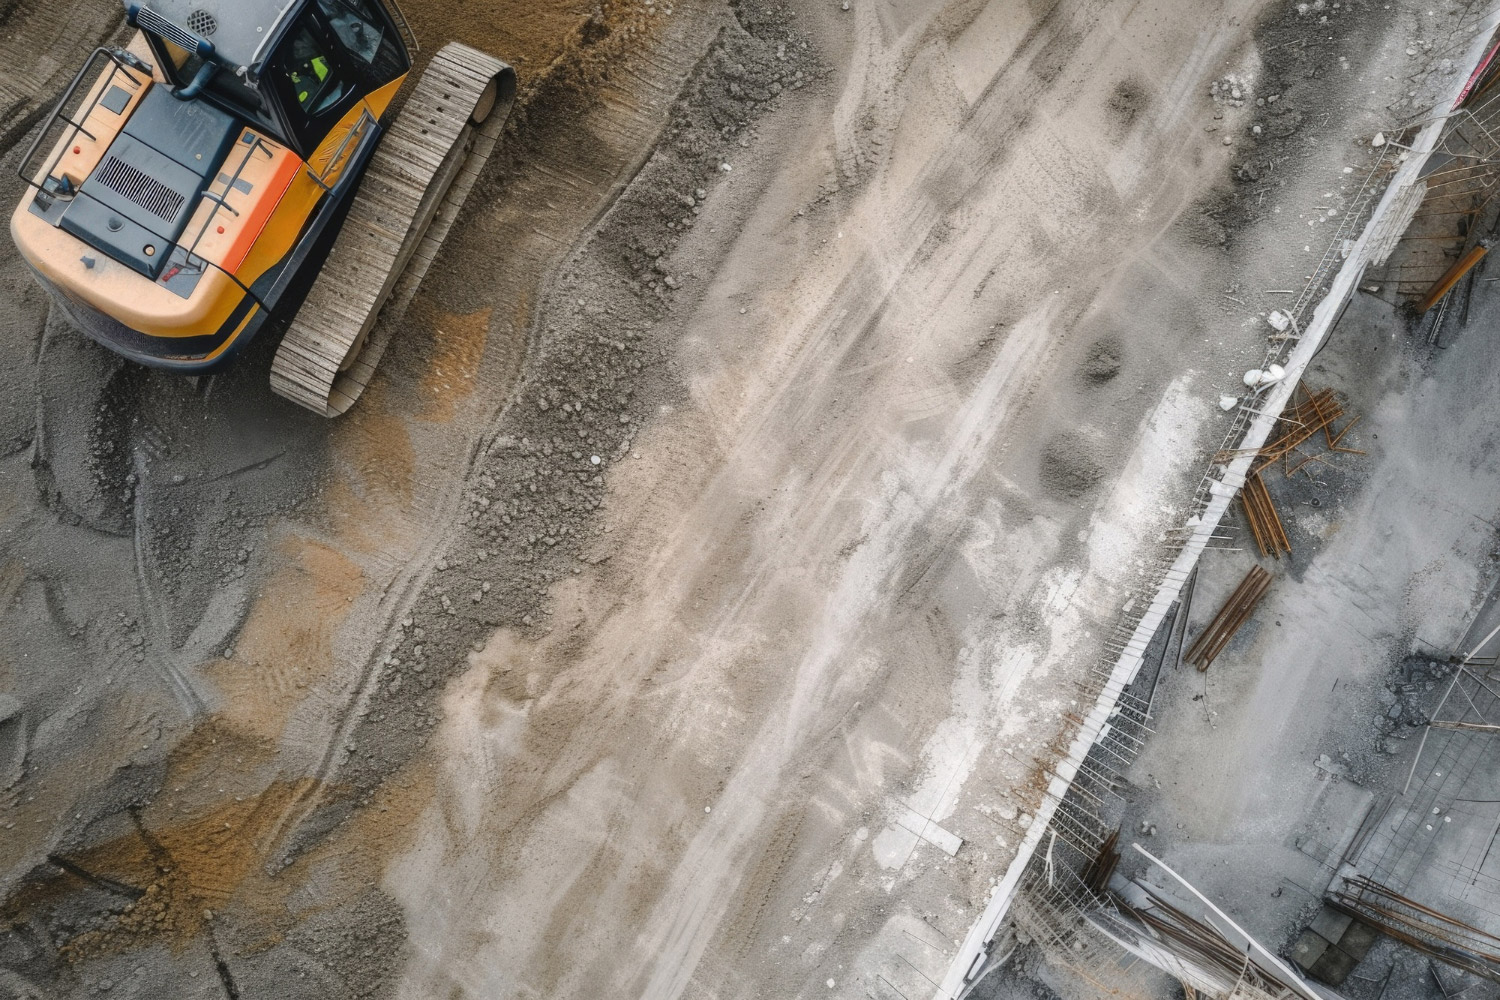
7. Completion and Site Cleanup
Finishing:
Cut off the pile heads to the required level once the concrete has sufficiently cured.
Cleanup:
Remove any leftover materials and equipment from the site. Ensure the site is left in a clean and safe condition.
Conclusion
The construction of Continuous Flight Auger (CFA) piles involves a series of well-coordinated steps, from site preparation to final quality checks. Each phase is crucial for ensuring the structural integrity and load-bearing capacity of the piles. By following this step-by-step guide, construction teams can achieve efficient and successful Continuous Flight Auger (CFA) pile installations, contributing to the overall stability and durability of the project.