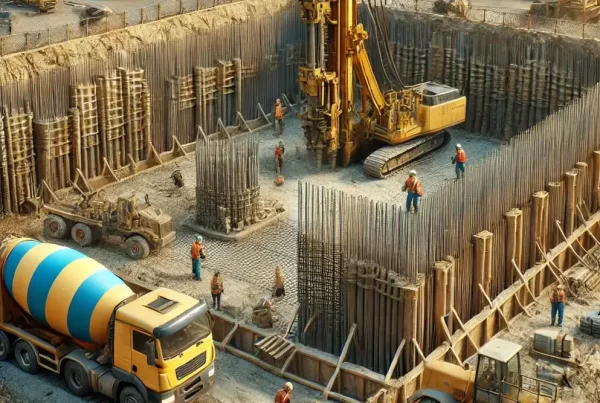
The design and construction of soil nail walls requires careful planning and execution. The first step in designing a soil nail wall is to determine the soil conditions and the slope angle. This information is used to determine the number and spacing of the soil nails, as well as the type of reinforcing material that will be used.
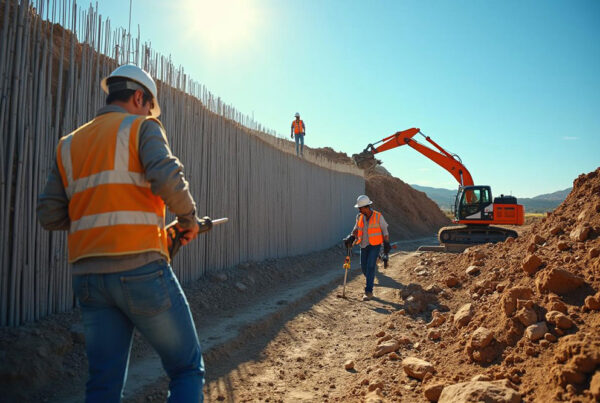
Once the design is complete, the construction of the soil nail wall can begin. The first step is to excavate the soil to the required depth and install the soil nails. The soil nails are typically installed at an angle of between 10 and 30 degrees from the horizontal, depending on the slope angle and soil conditions.
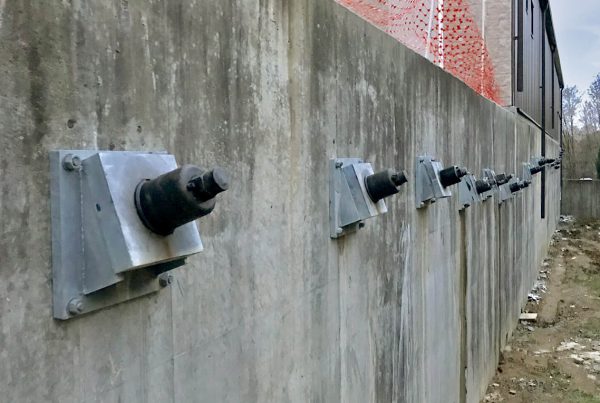
After the soil nails are installed, the face of the slope is reinforced with shotcrete or other materials. The shotcrete is applied in layers to create a strong, stable wall. Once the shotcrete is in place, the soil behind the wall is backfilled and compacted to provide additional support.